
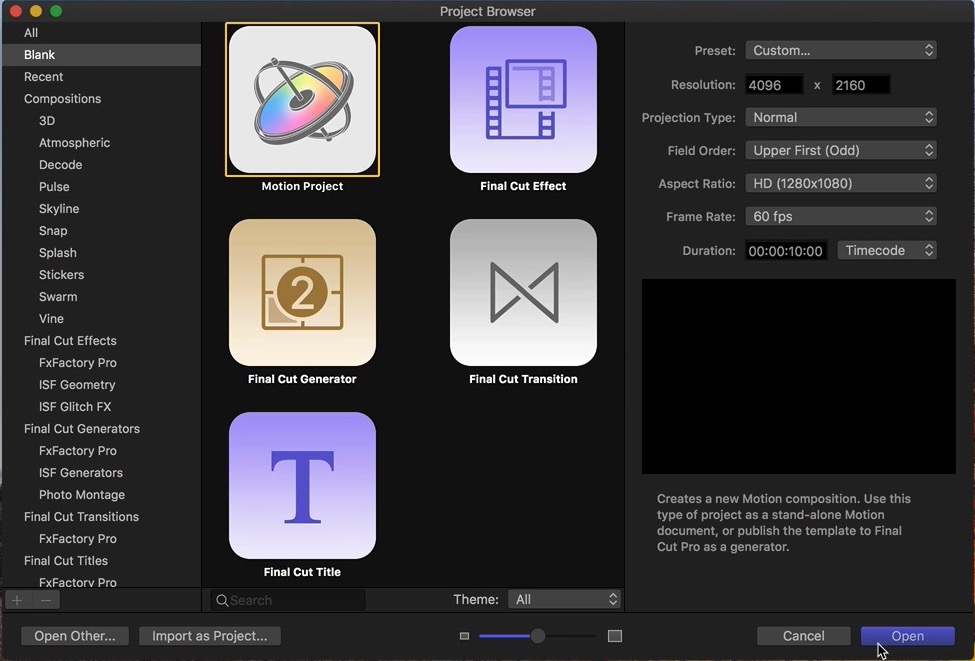
Specify the resolution, frame rate, duration and other format properties for the new Motion project. If needed this can be changed from the Project Settings panel later on.
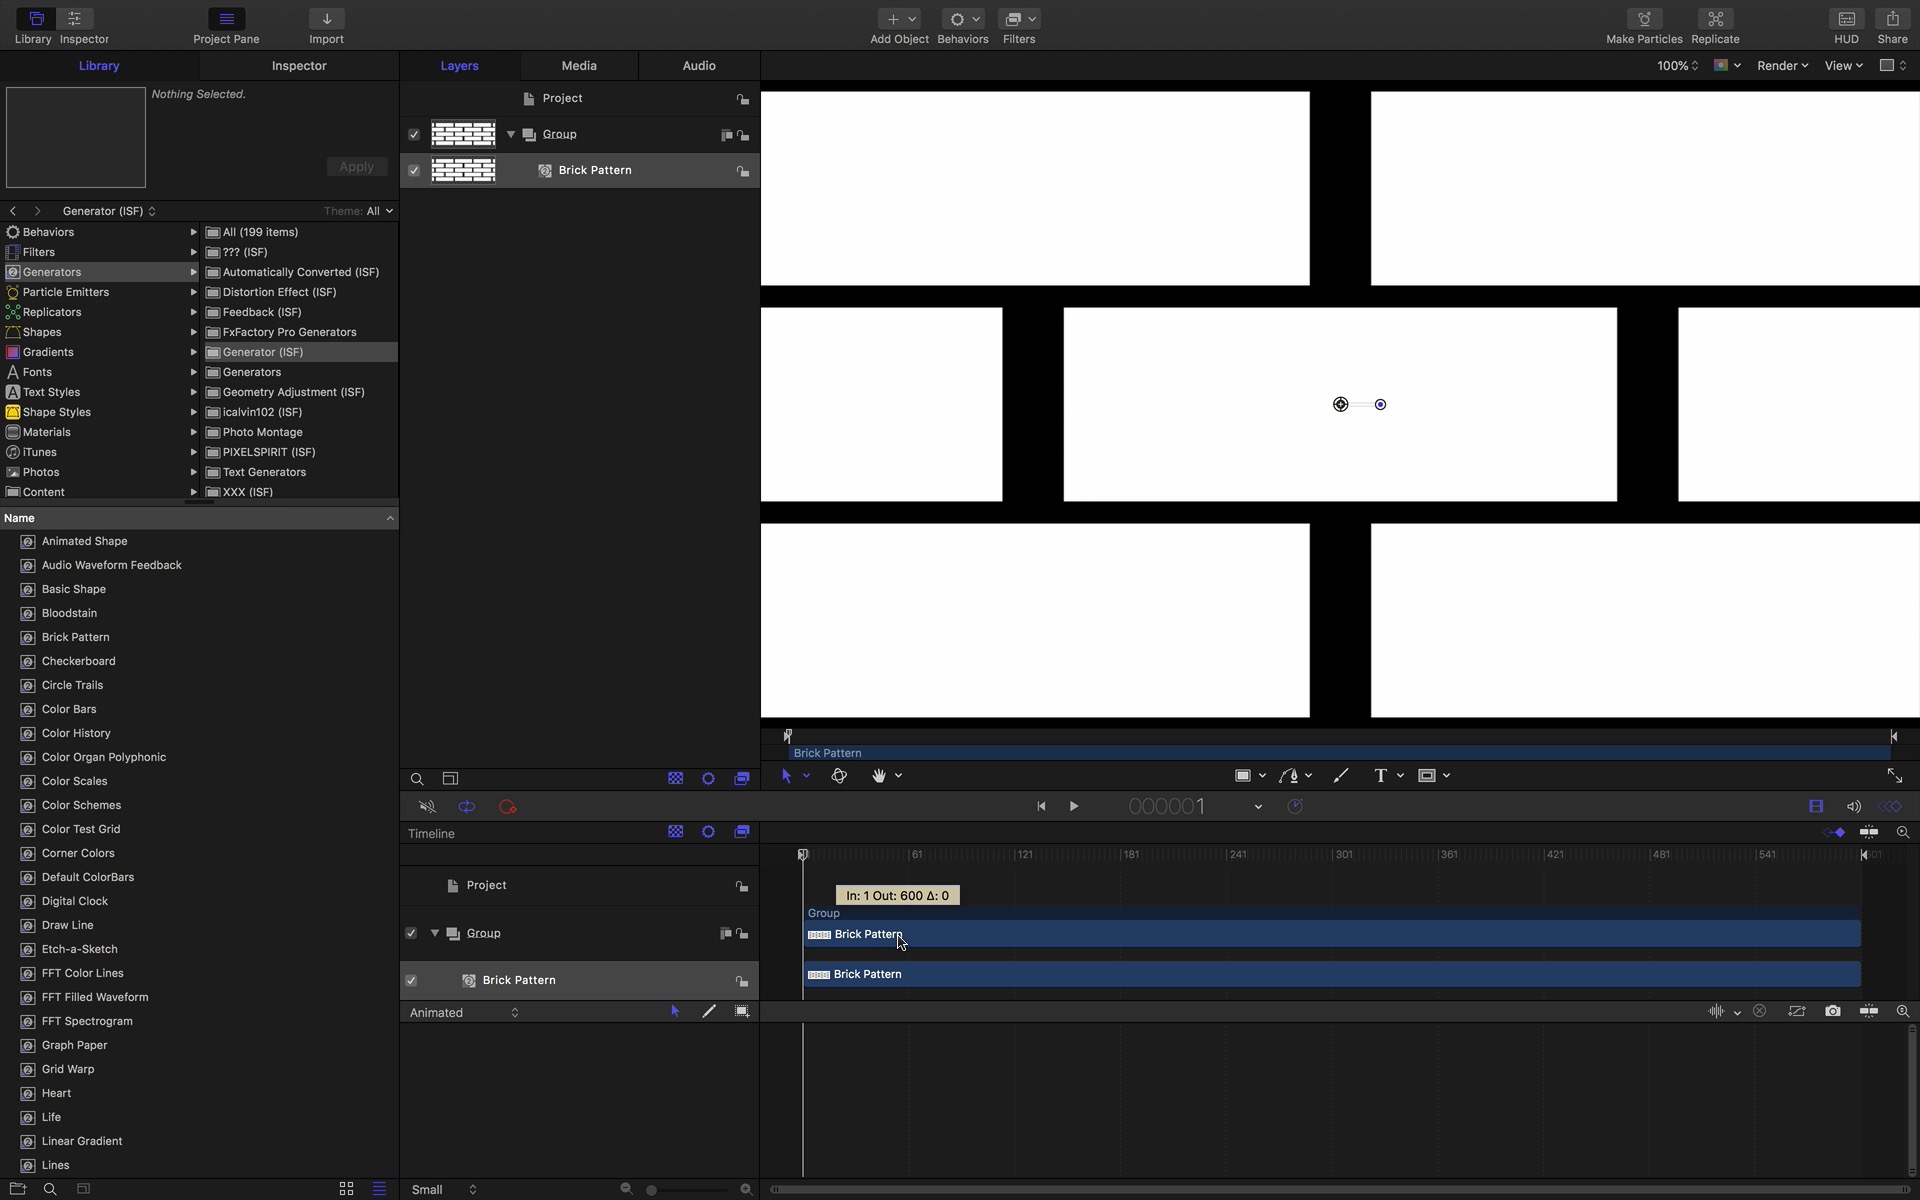
In the Library tab, click on the Generators group to browse the list of ISF sources. Each shader will appear in its appropriate sub-category. Click on an asset in the list to see its preview. Browse the list of ISF generators in the Motion Library to locate the Brick Pattern and drag to add it to the timeline.
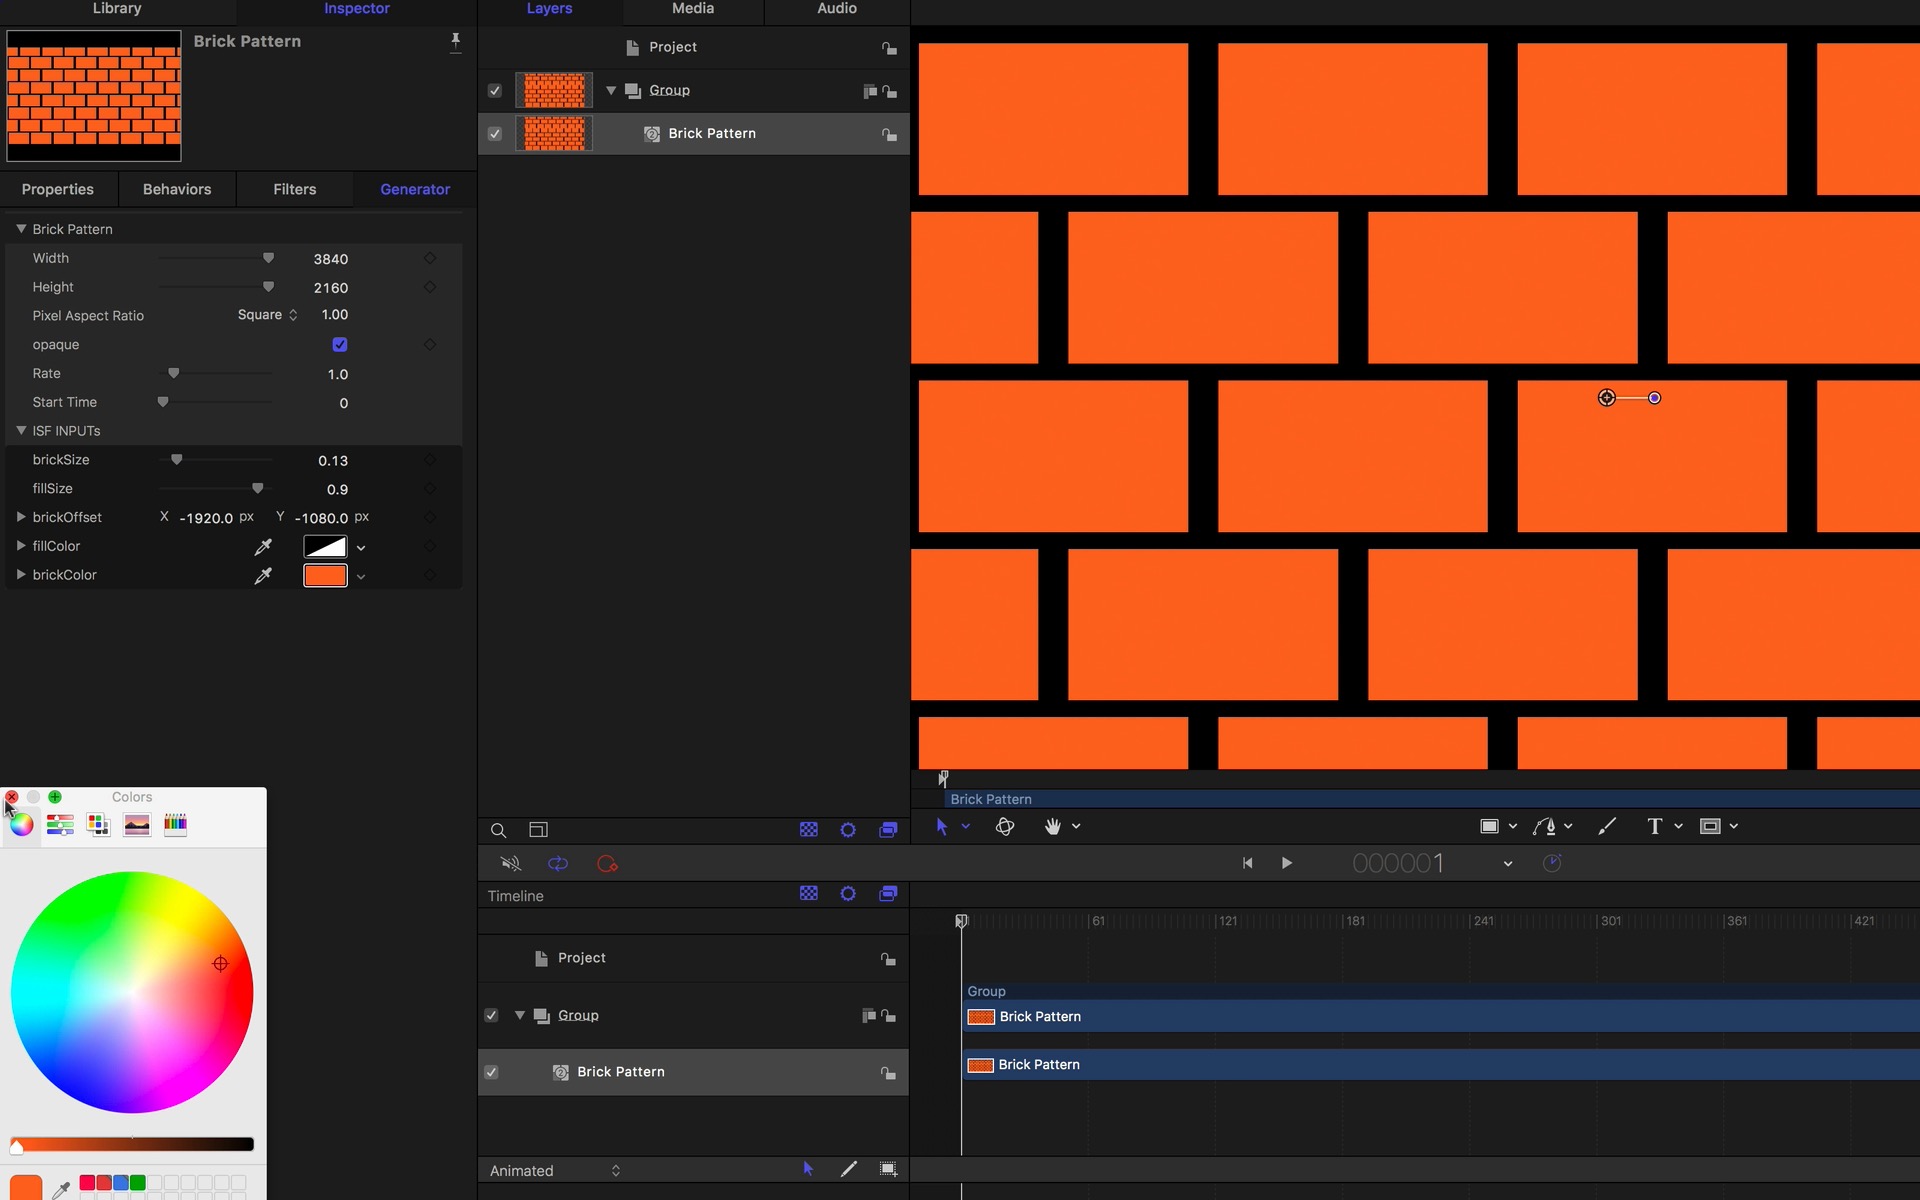
Use the Motion Inspector to adjust published shader generator parameters and set keyframes in the timeline. Browse the list of ISF generators in the Motion Library to locate the Brick Pattern and add it to the timeline or project pane.
In the Library tab, click on the Filters group to browse the list of ISF effects. Each shader will appear in its appropriate sub-category. Browse the list of ISF filters in the Motion Library to locate the Shape Morph Wrap filter add drag to apply it to the Brick Pattern in the timeline or project pane.
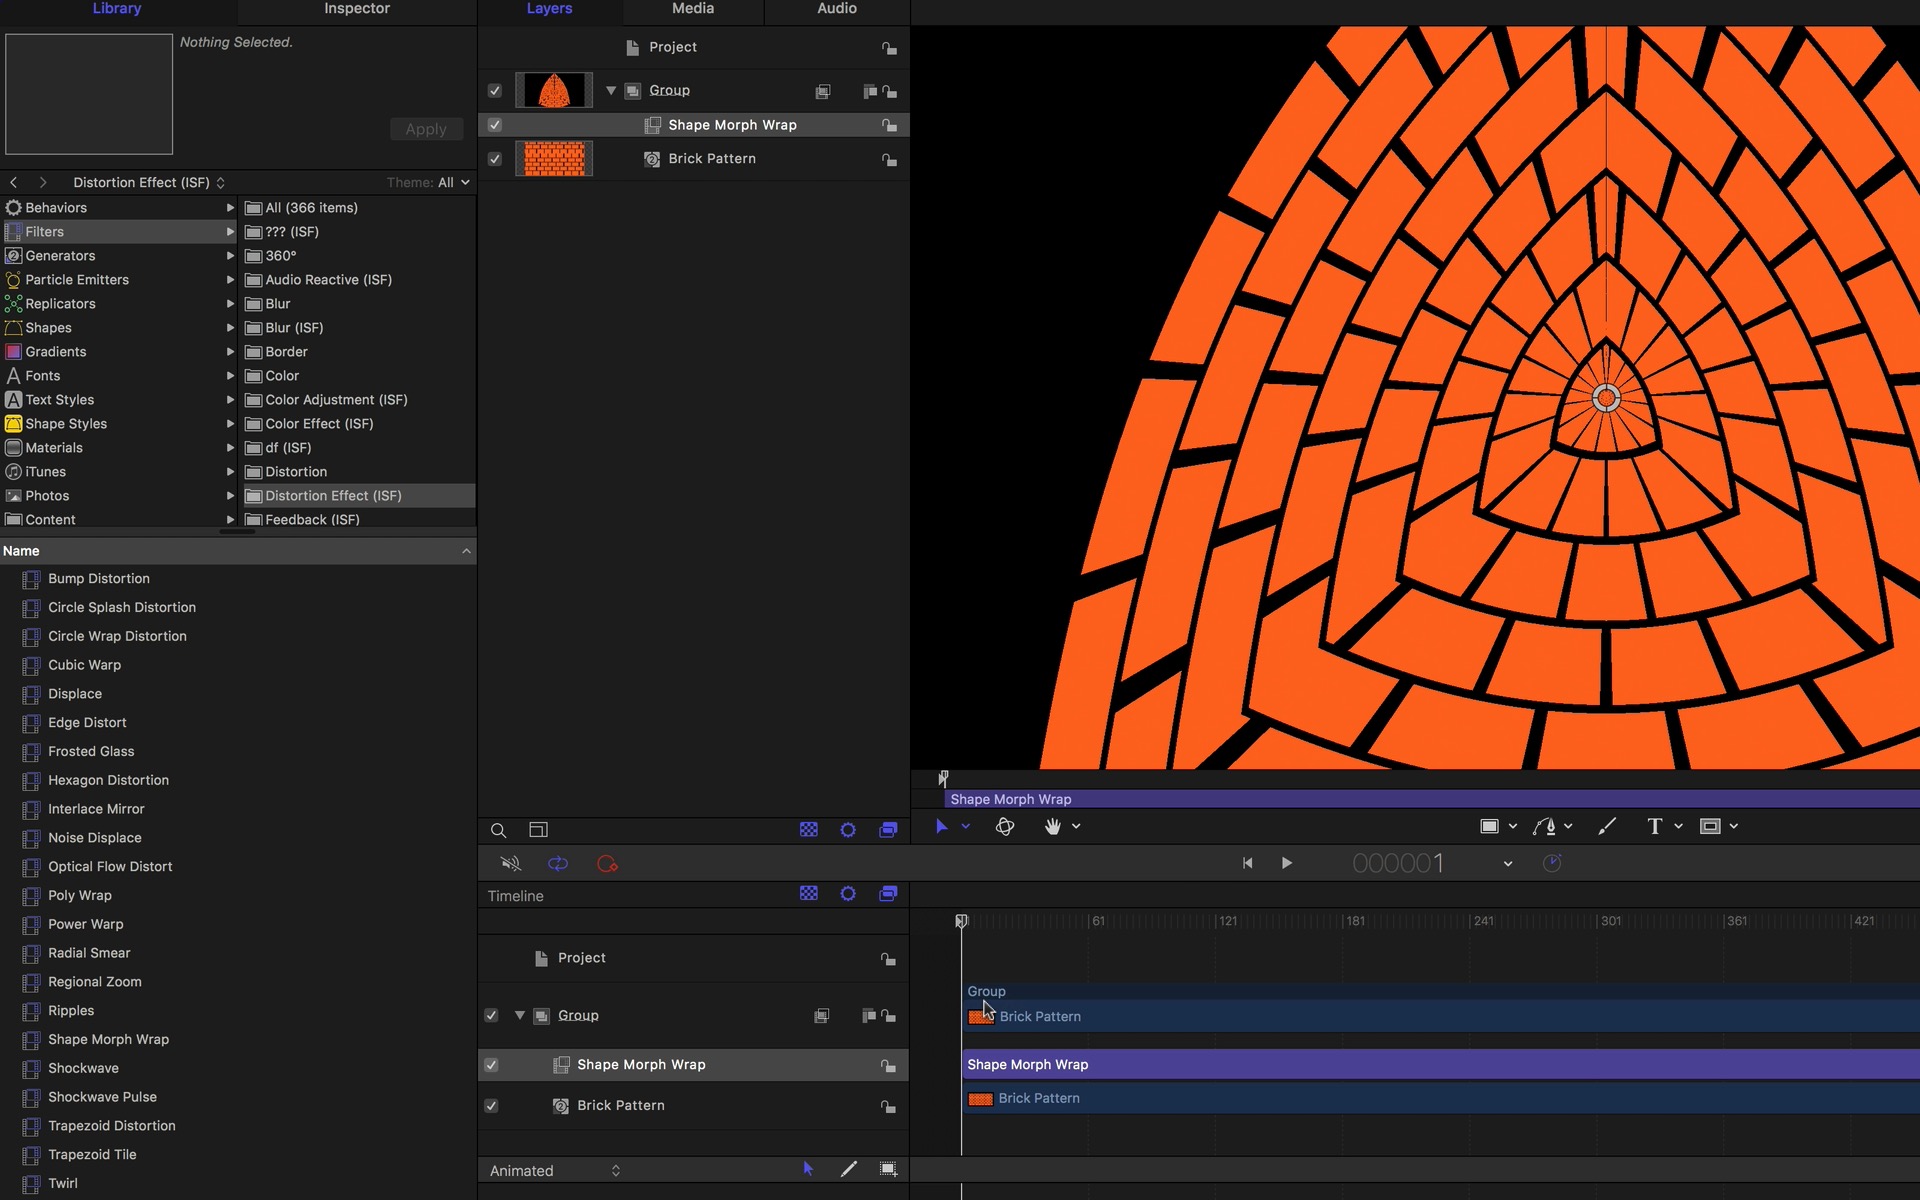
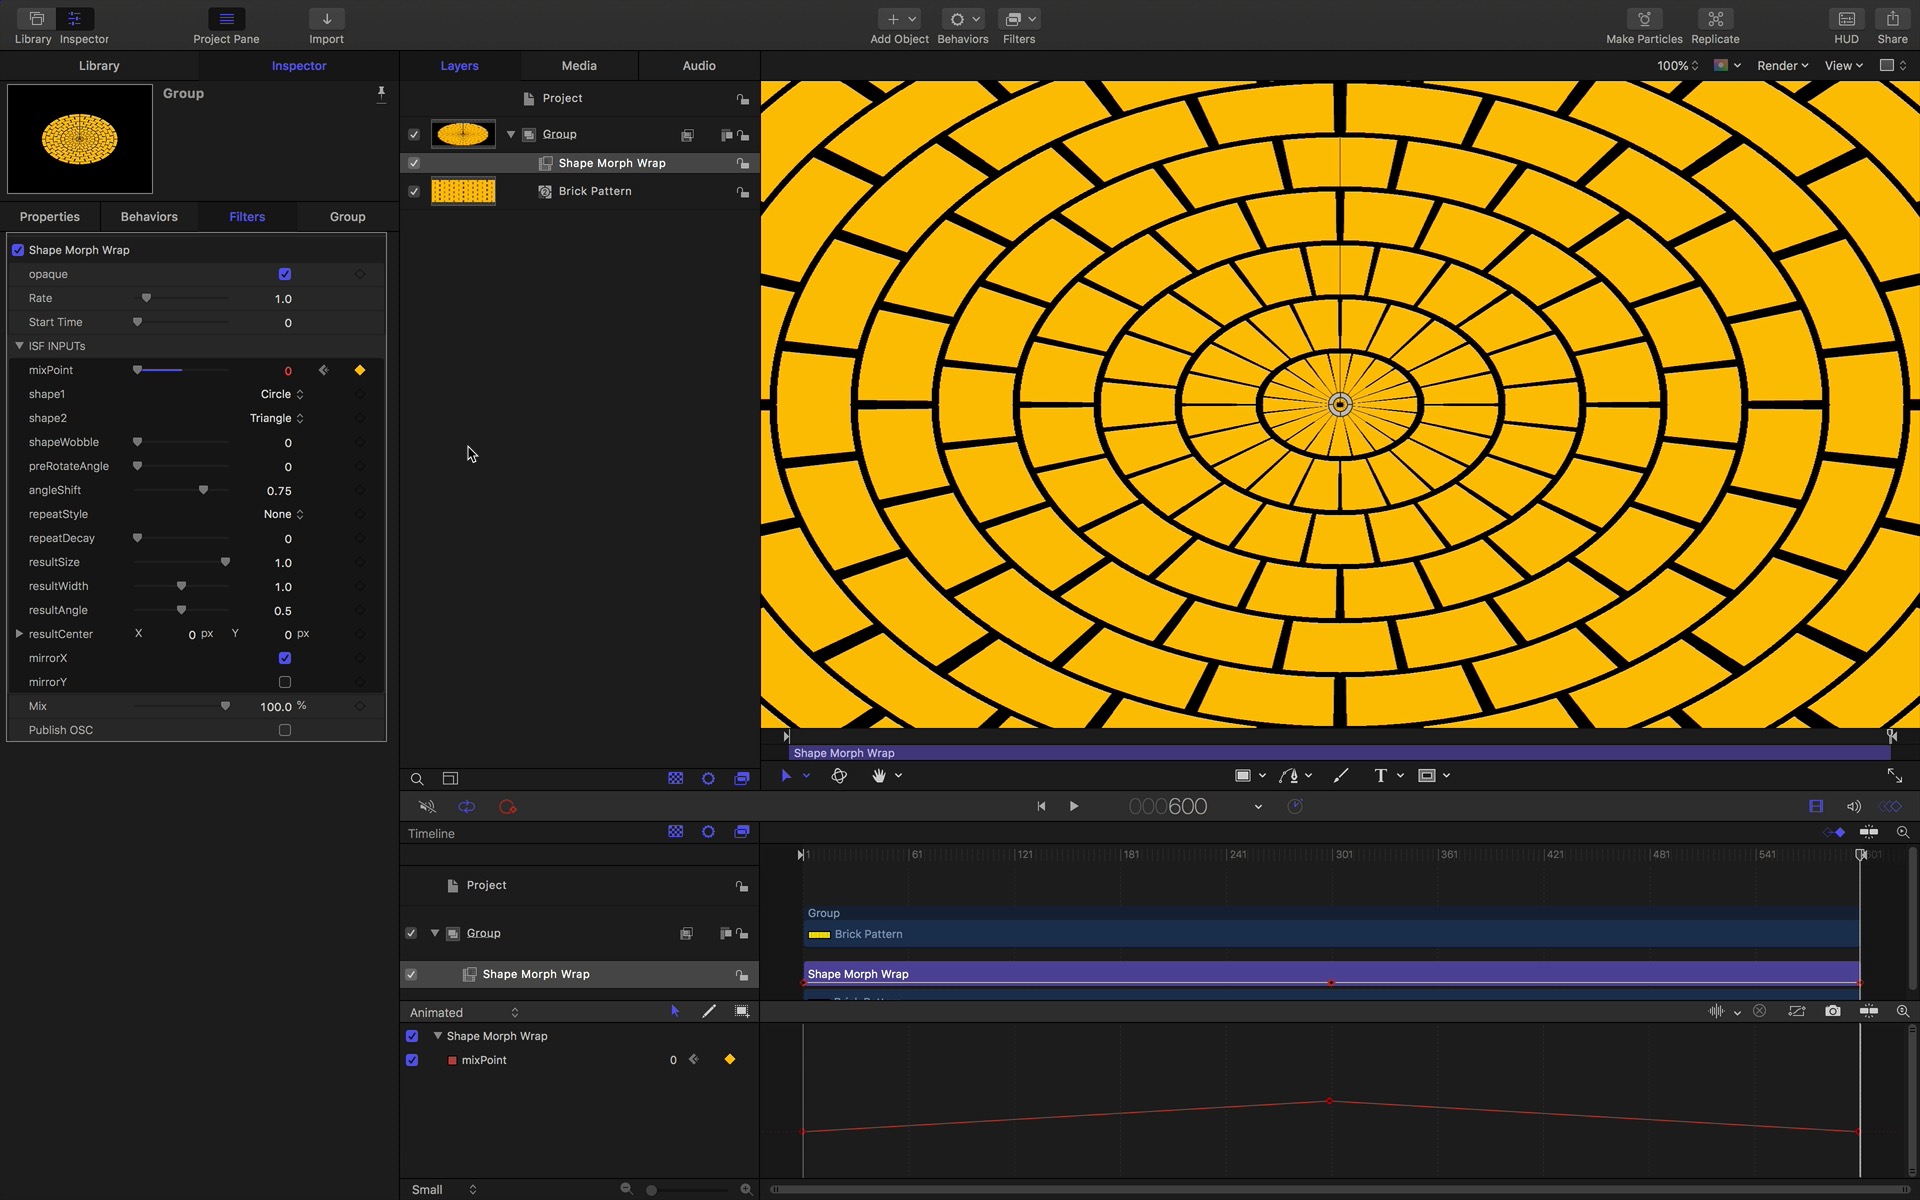
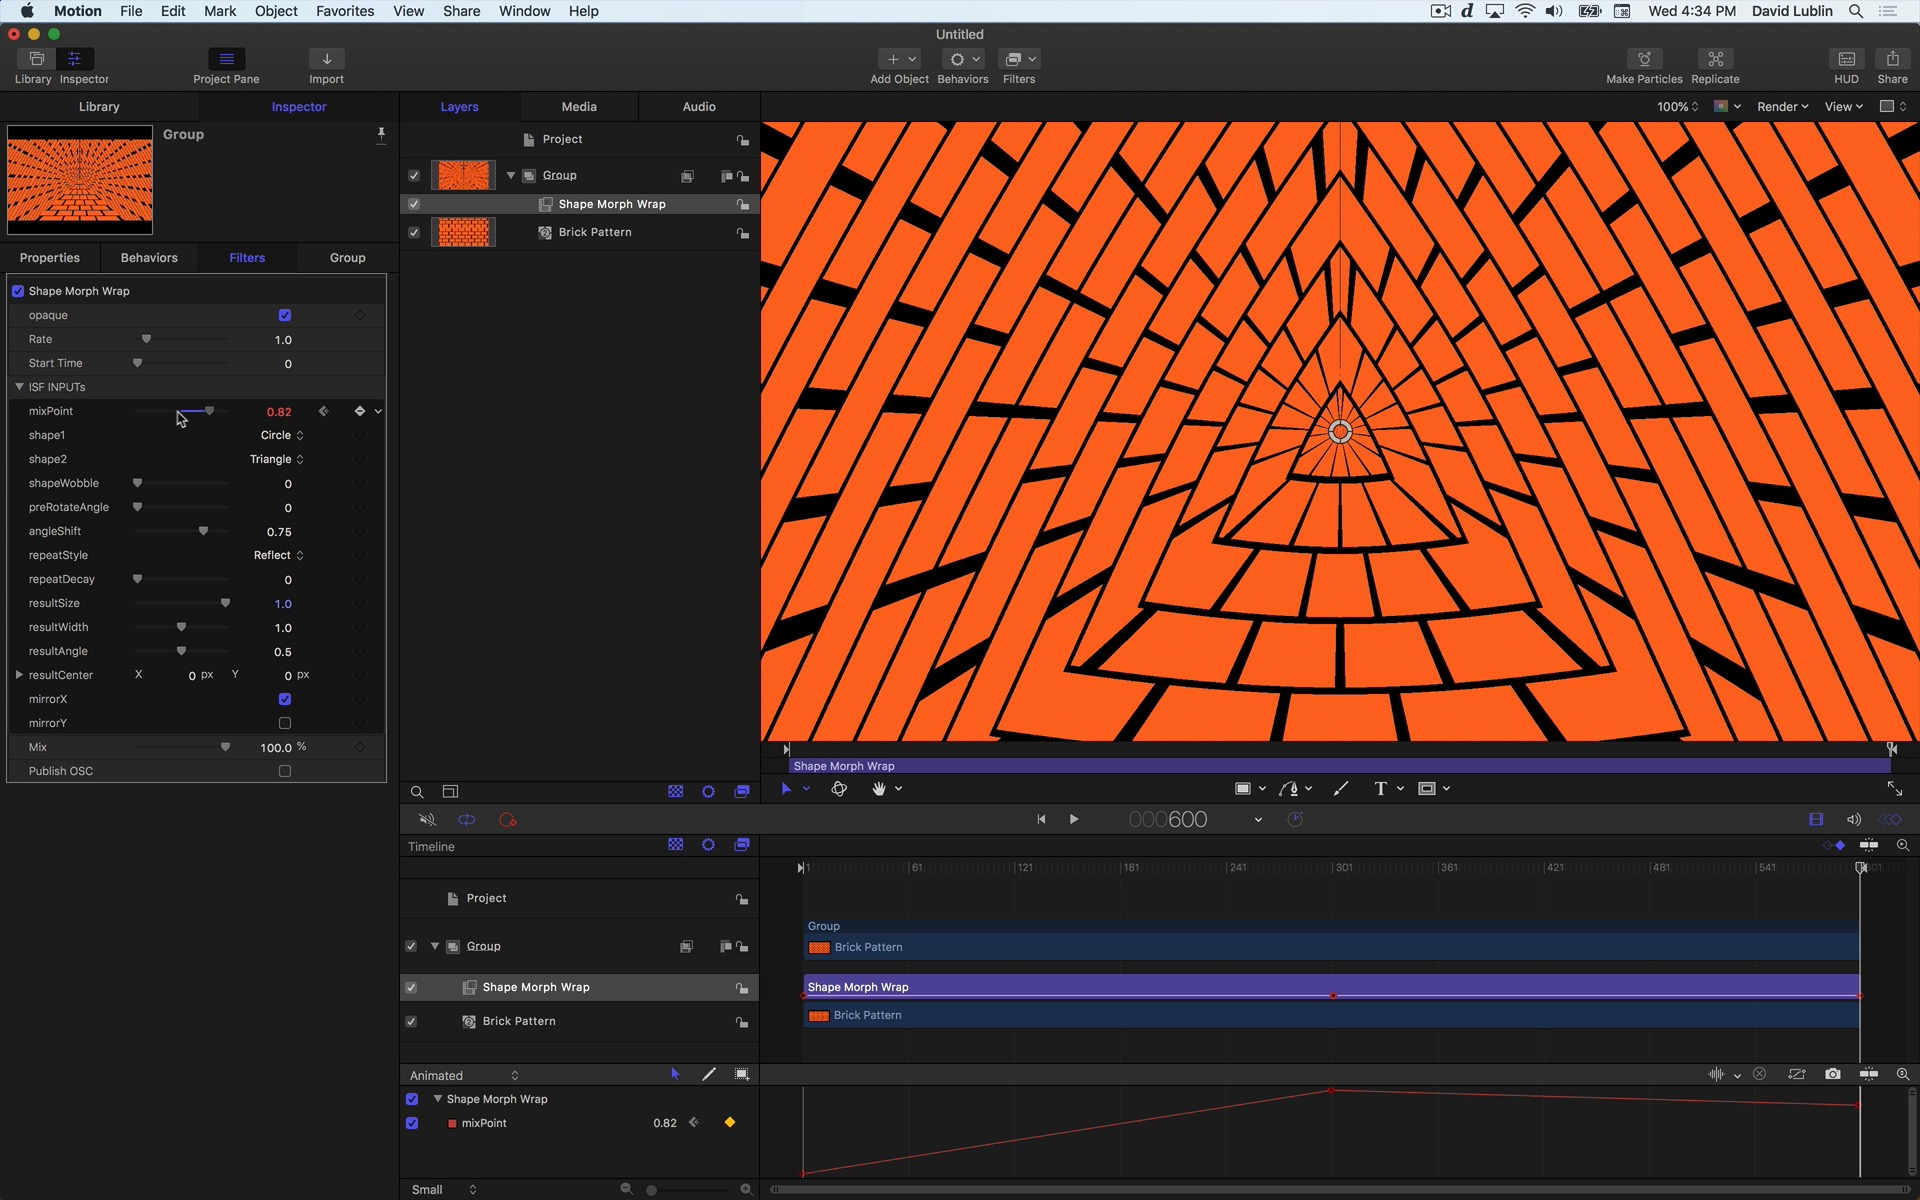
Use the Motion Inspector to adjust published shader filter parameters. Click on the “Add Keyframe” button next to the parameter, then adjust its value. Additional keyframes can be added, moved and otherwise modified using the timeline editor.
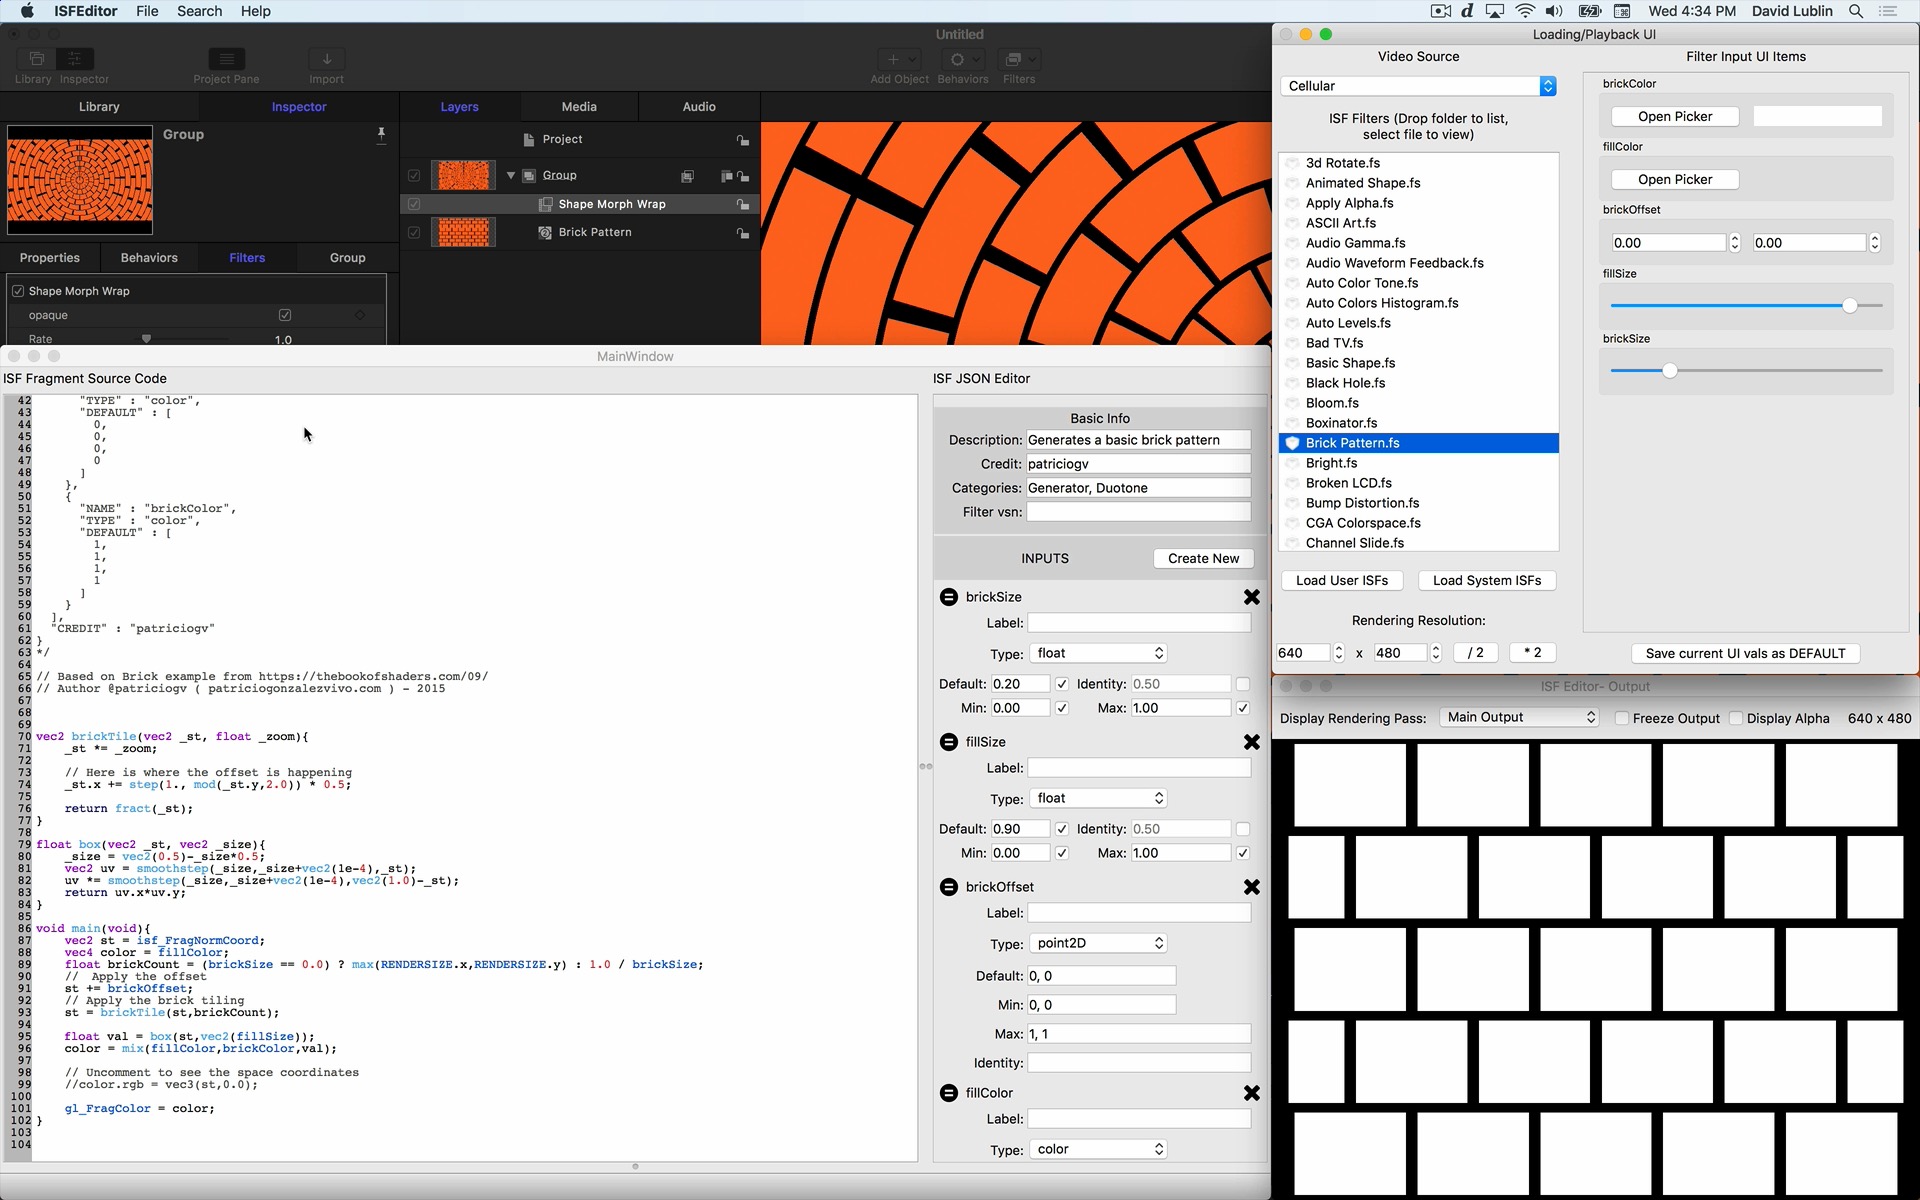
Shaders can be written and remixed using any standard text editor, or the free ISF Editor app. See the ISF documentation pages for more information on creating and modifying GLSL shader code.
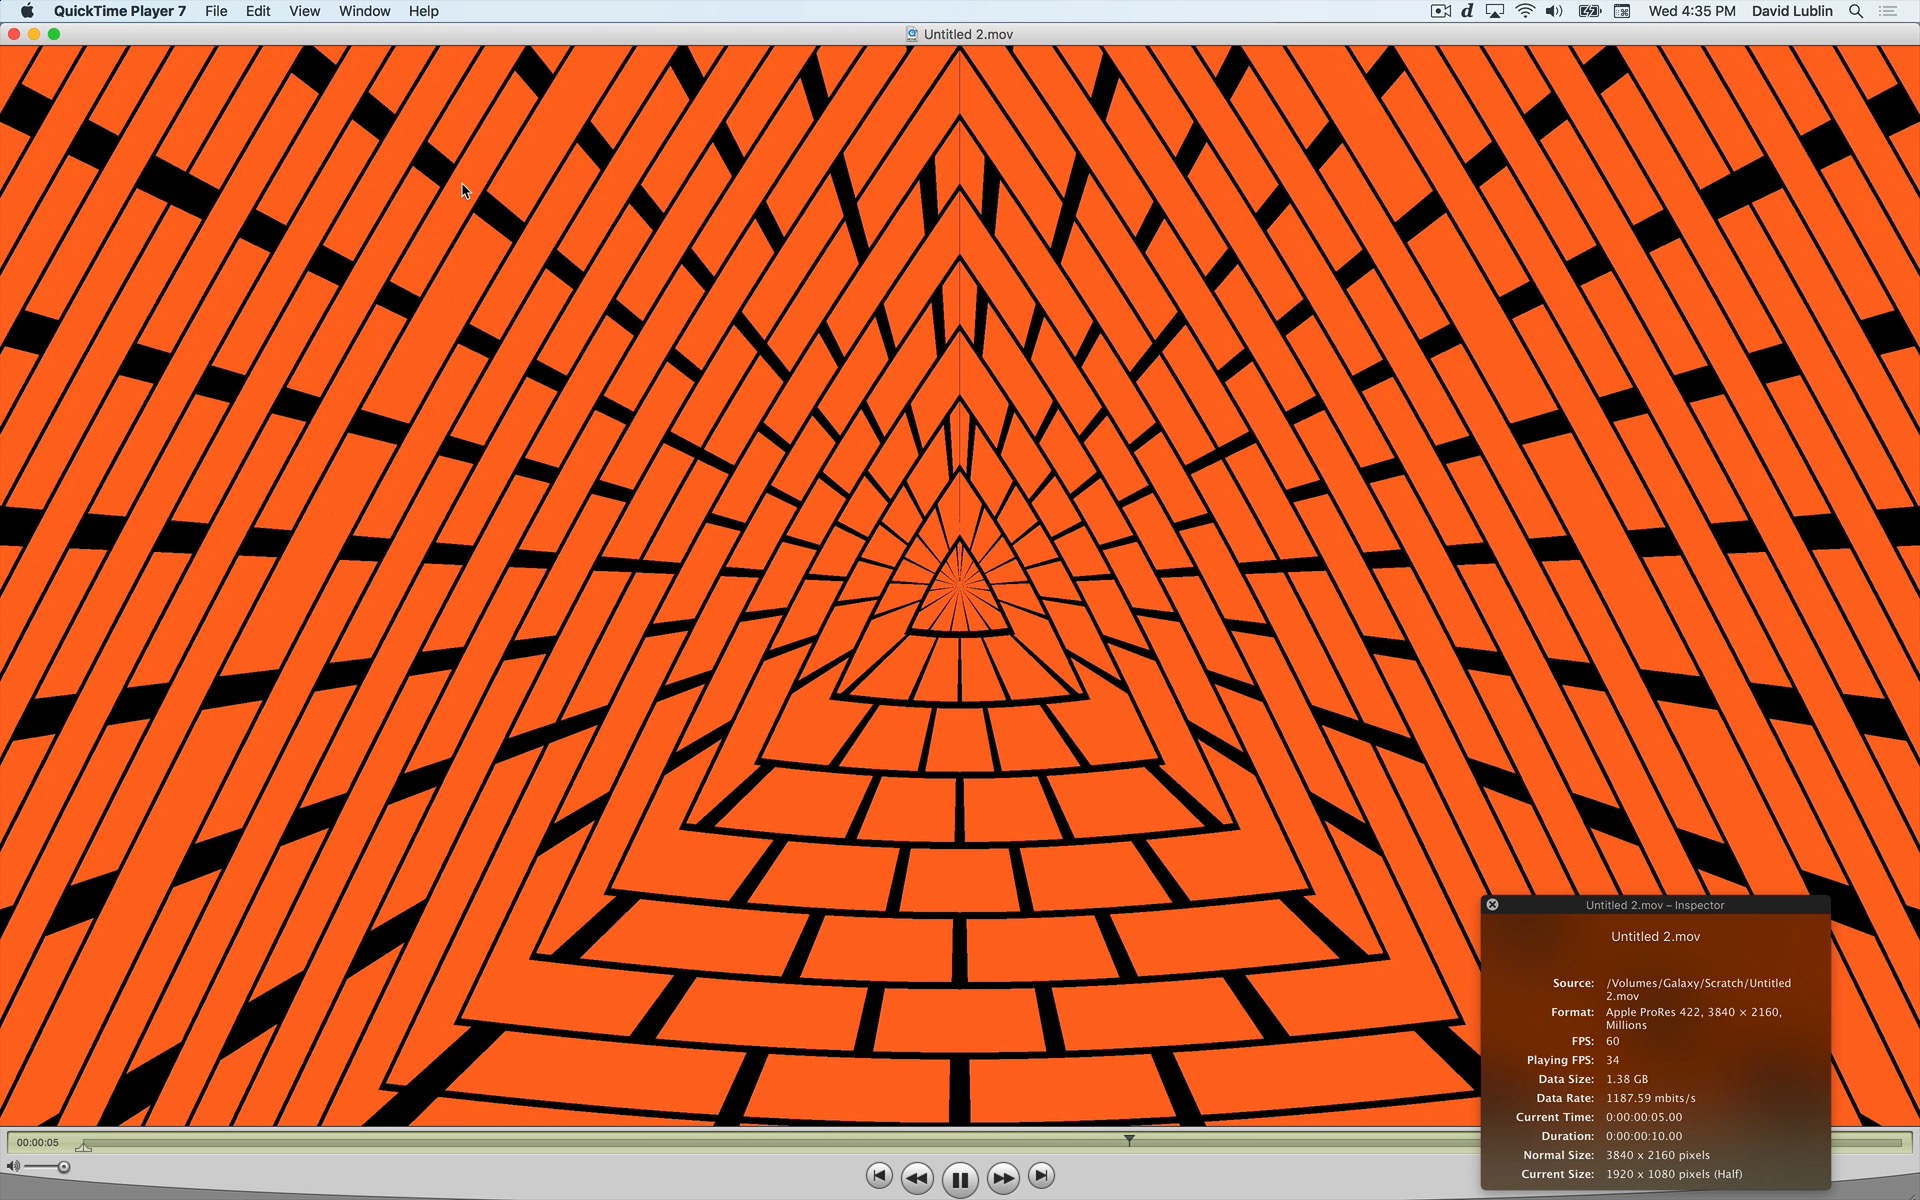
From the Share menu, use the “Export Movie...” option to render your composition as a movie file to use in other software or upload to the web. Choose the appropriate codec for the use case: ProRes 4444 (high quality with alpha), ProRes 422 (high quality), or h.264 (low to mid quality).

