If you haven't already done so, start by downloading and installing the free ISF Editor. This installer also includes the standard set of ISF shaders.

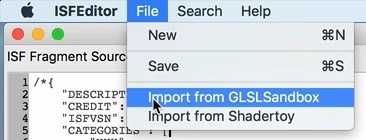
From the “File” menu, choose the “Import from GLSLSandbox” or “Import from Shadertoy” option and enter the URL to the shader to convert. In this example we will use glslsandbox.com/e#57019.4. The ISF Editor will automatically download and attempt to translate the code to the ISF specification, but you may need to make additional modifications for some shaders. Note: Though not needed for this example, in some cases you may need to change the rendering mode to OpenGL 4 mode the ISF Editor in the preferences for imported shaders to compile and render properly.

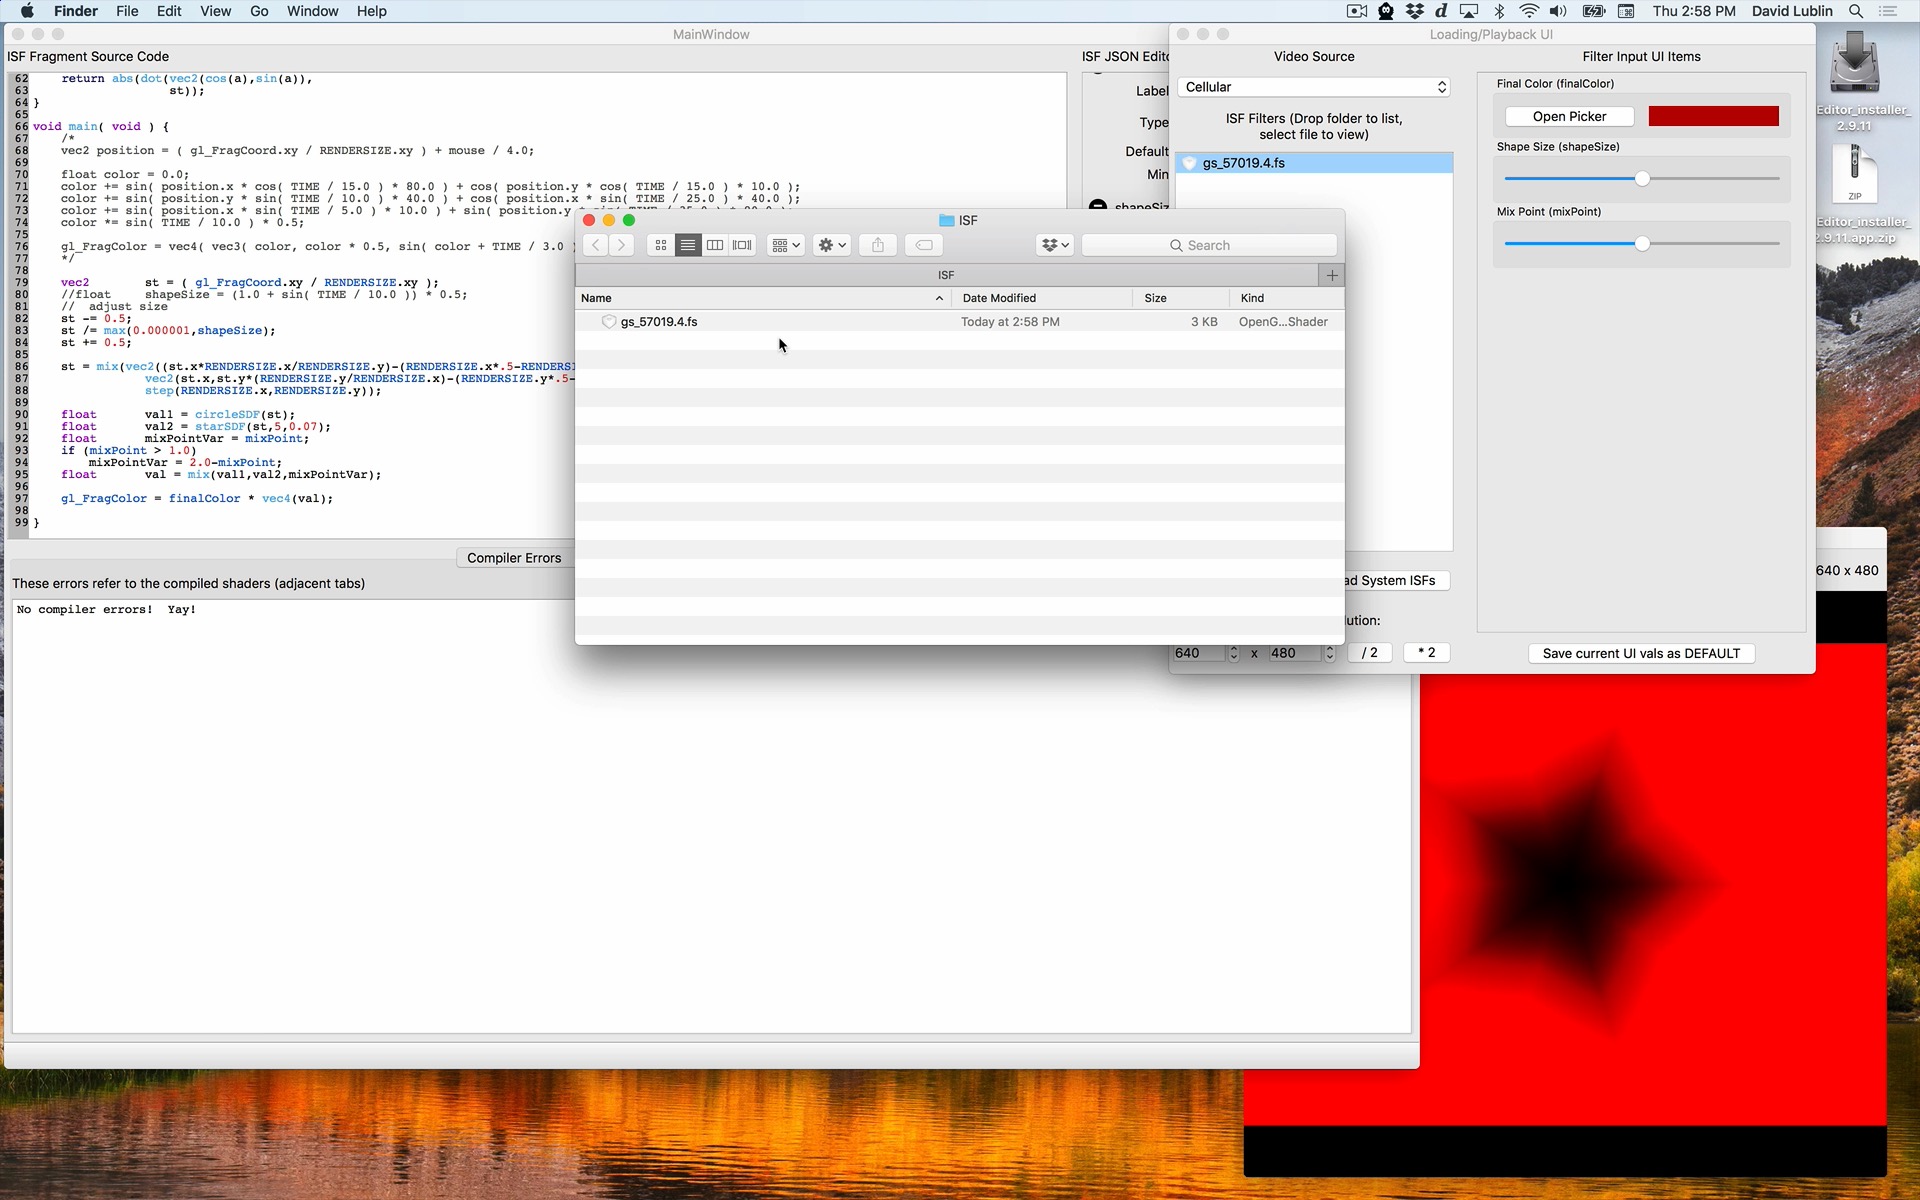
Once imported we can further customize the shader to take advantage of ISF functionality. The “Inputs“ section of the ISF Editor interface can be used to add, remove and modify the published parameters for the shader.

The ISF Editor downloads shaders to the “~/Library/Graphics/ISF” folder on your Mac. In most cases this allows it be accessed by all applications that support ISF, including ISF for Motion, on your computer. If needed you can locate these shaders in the Finder to move, share, rename or delete them.
For more information on manually converting code from other specifications see the Adapting Existing GLSL Code to the ISF Specification and Tips for Converting Non-ISF GLSL shaders to ISF sections of the ISF documentation.